Happy Easter!

There is something really quite magical about being back home, and it’s not just that the beach is 5 minutes away and the sun is almost always shining at this time of the year. Although it helps.

It’s that special feeling you get when you know a place inside out and every street brings back a different memory. Easter is a particularly good time of the year to be here too; I’m glad to have escaped the awful weather back in England and be able to smell all those lovely spring smells.

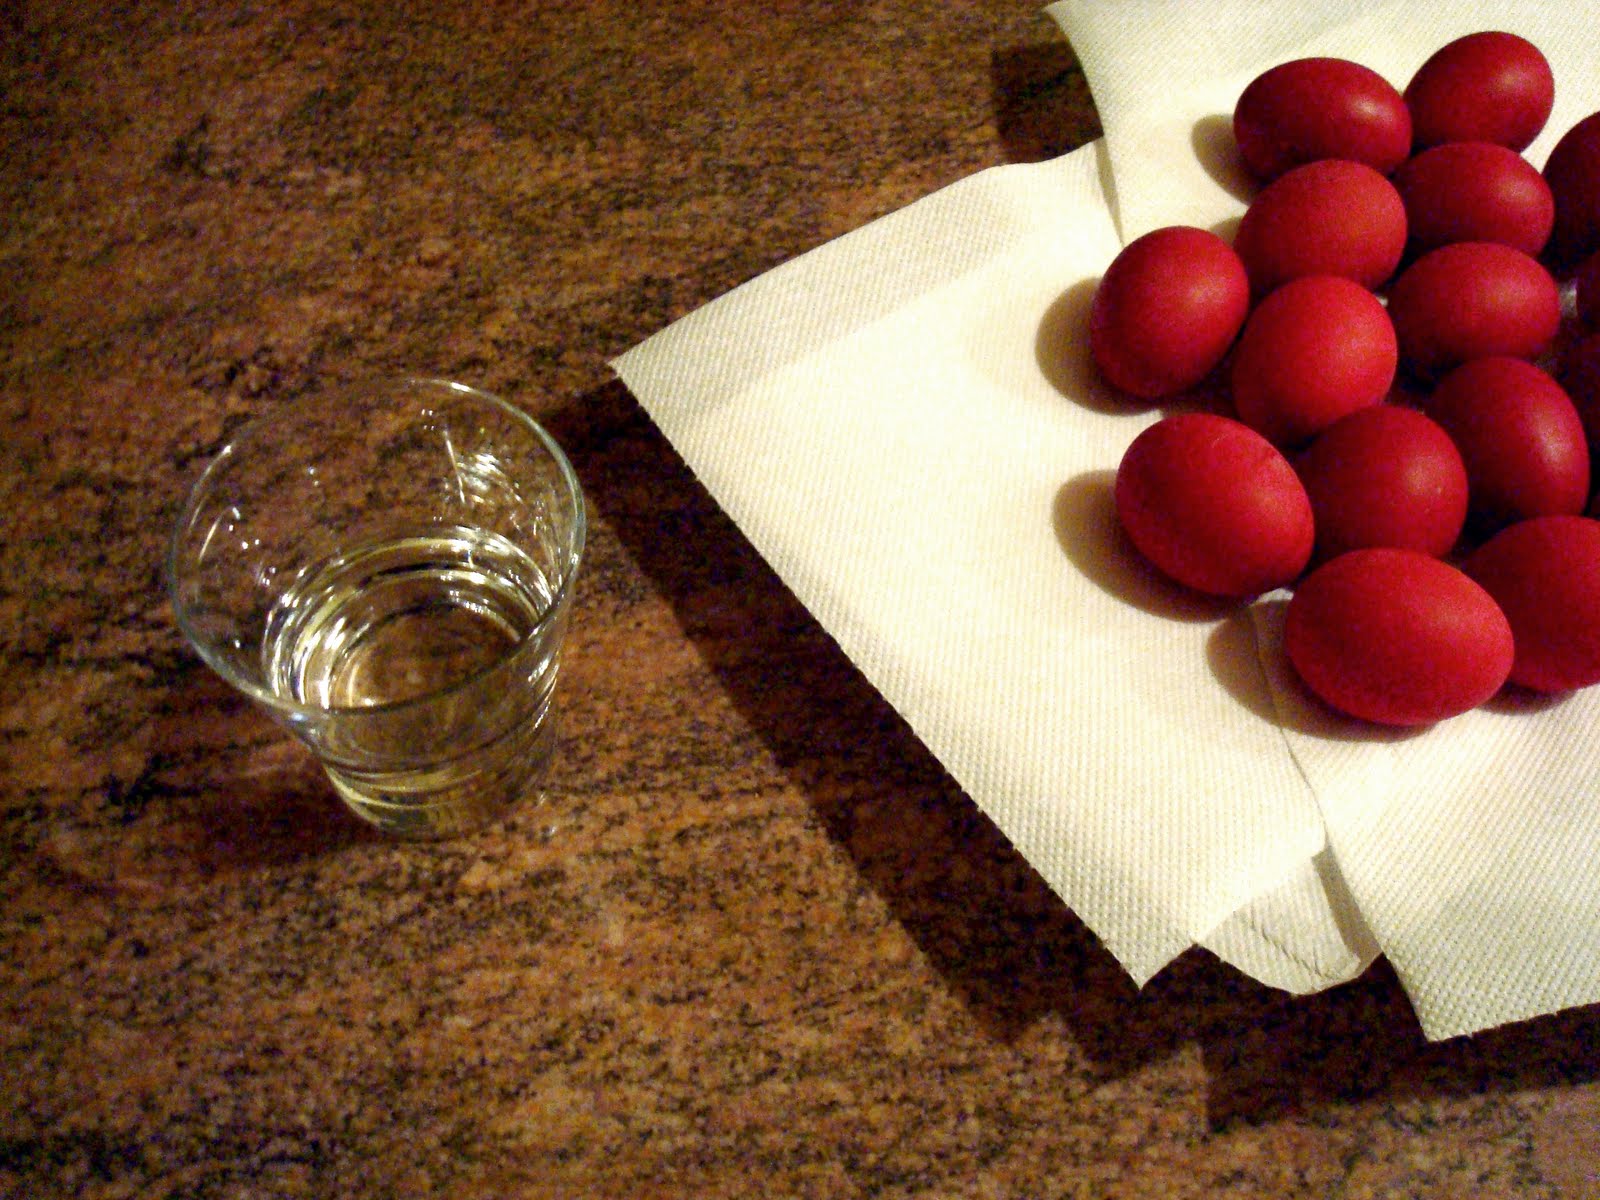
And Easter is still celebrated in a very traditional way. A week of fasting or at least moderate eating is followed by feasts right after midnight on Saturday. Eggs are dyed bright red and the egg wars are a favourite post-Sunday-lunch game.

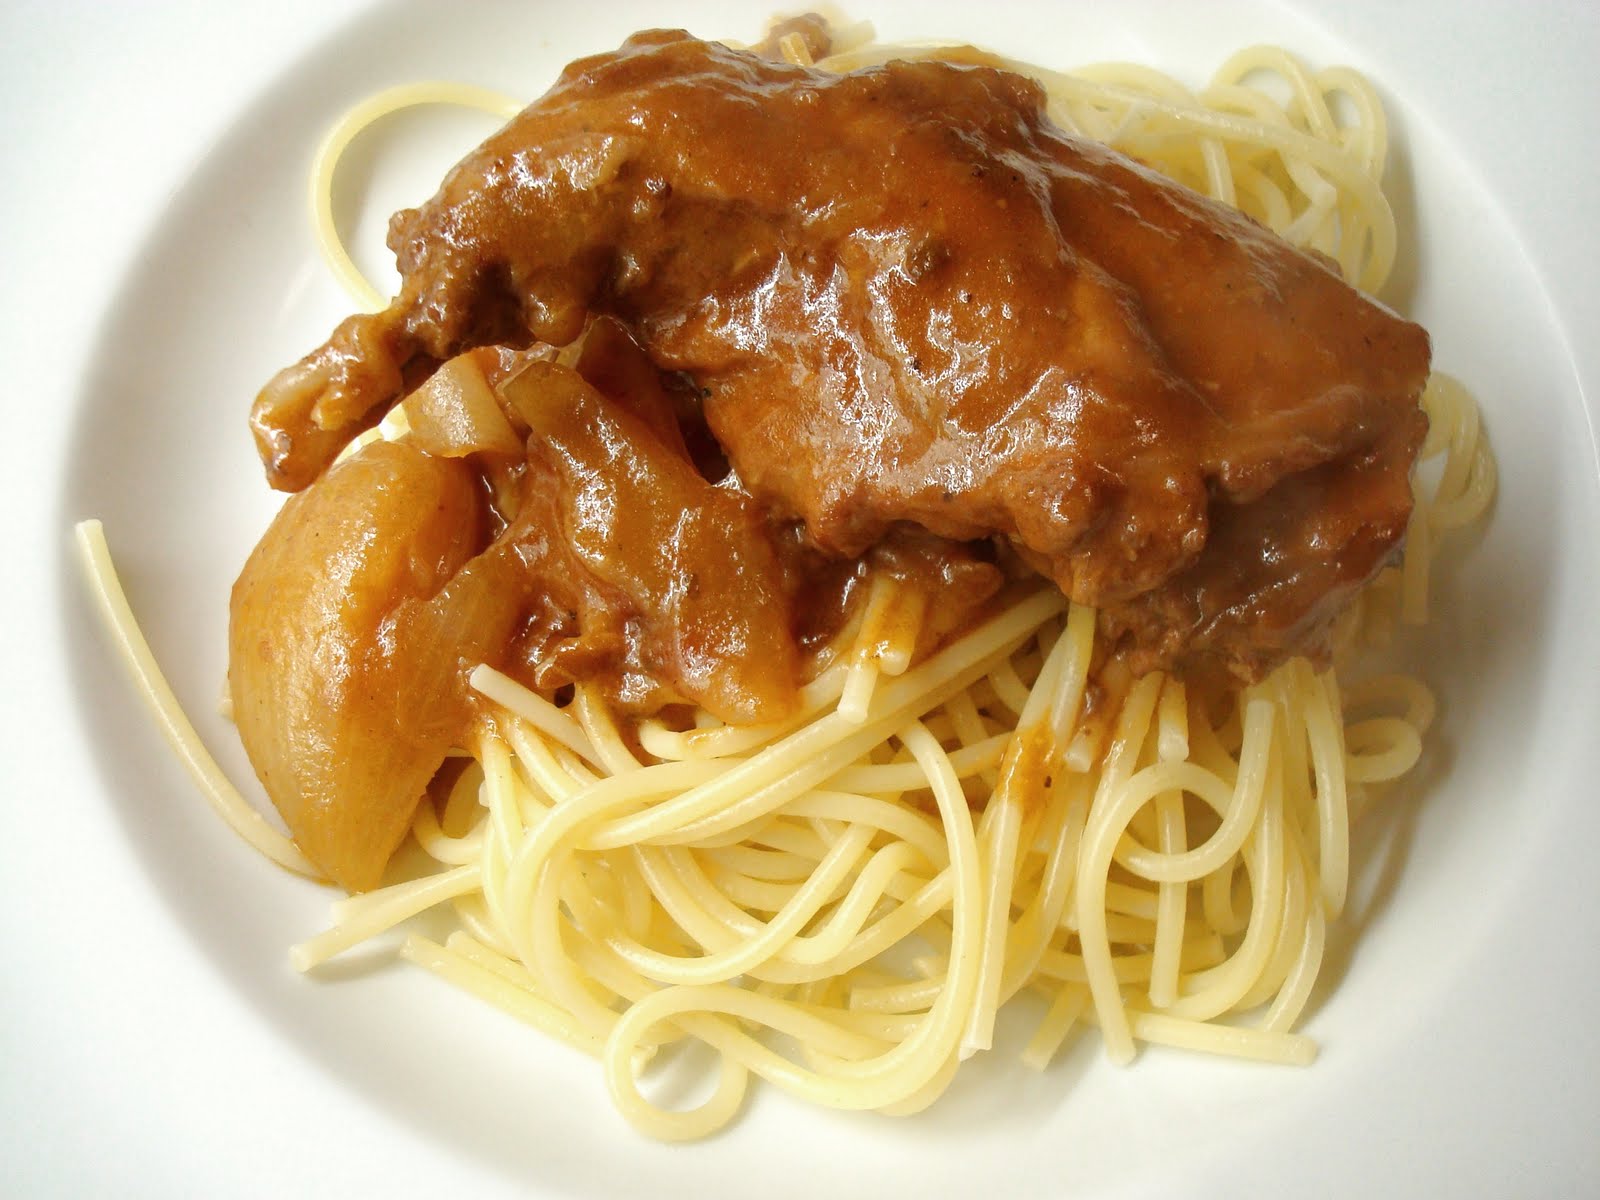
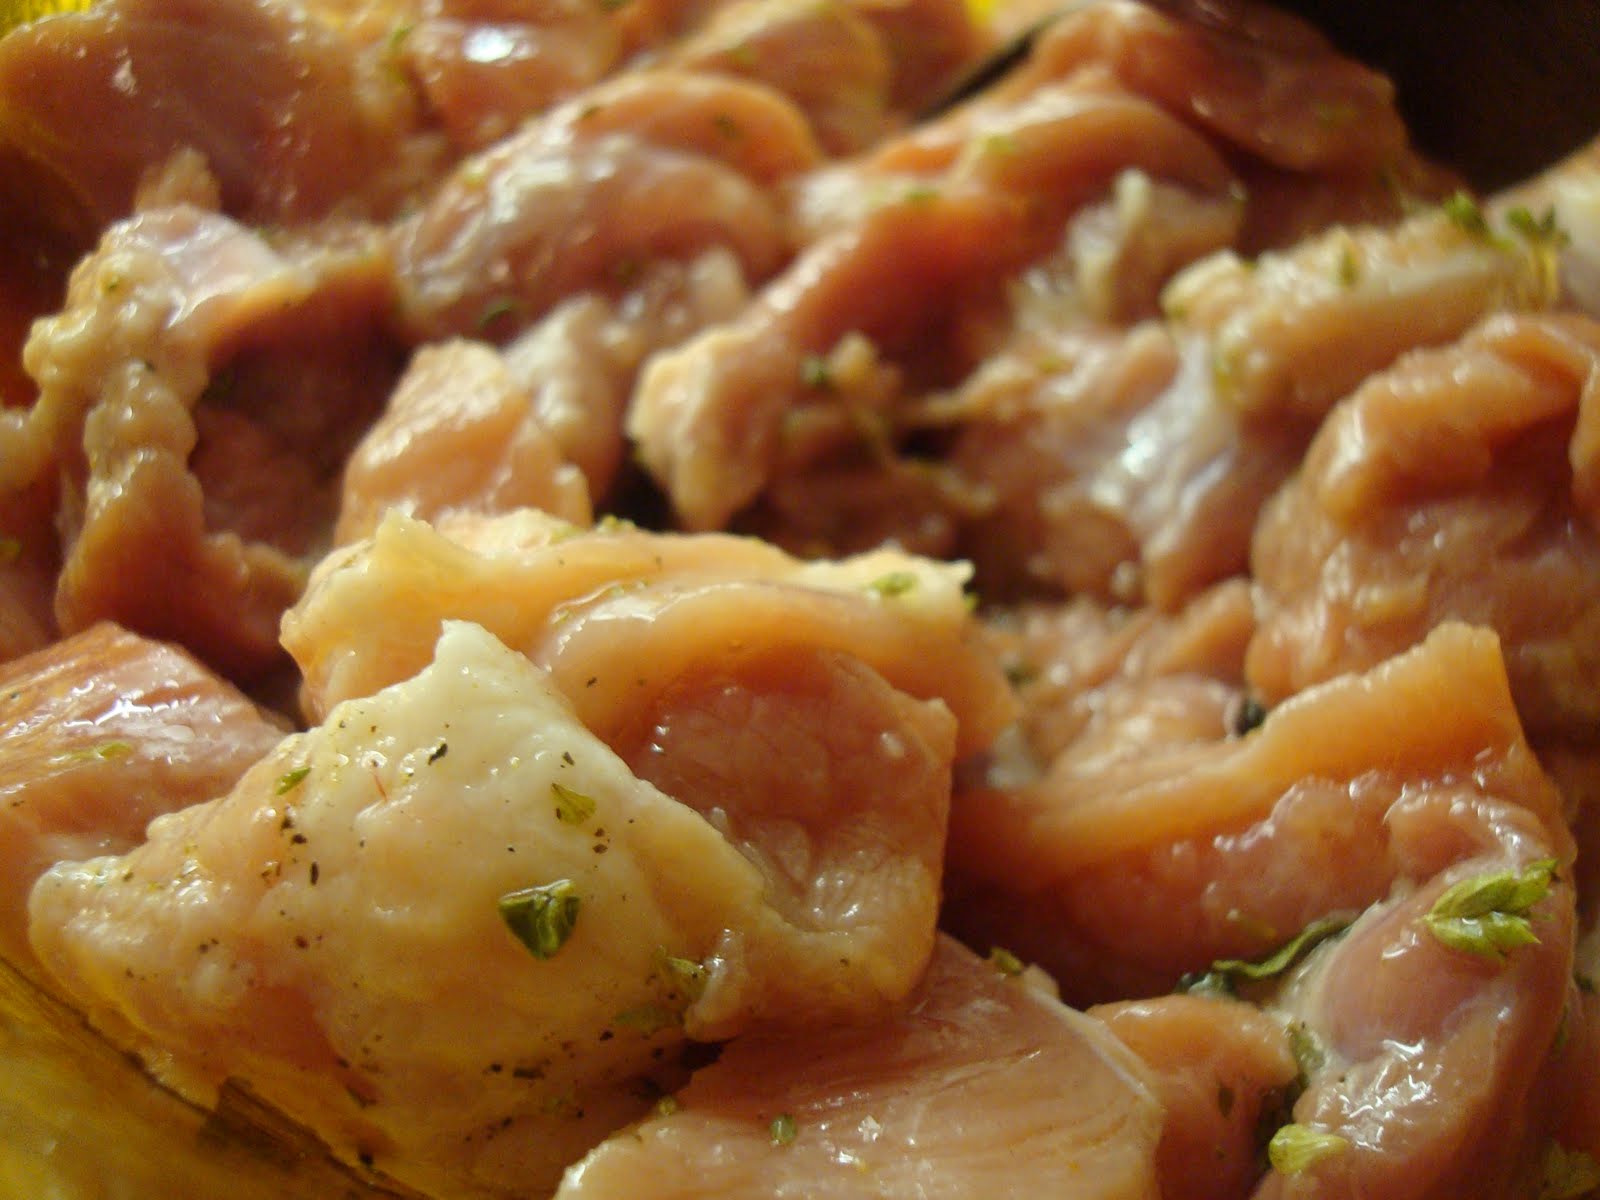
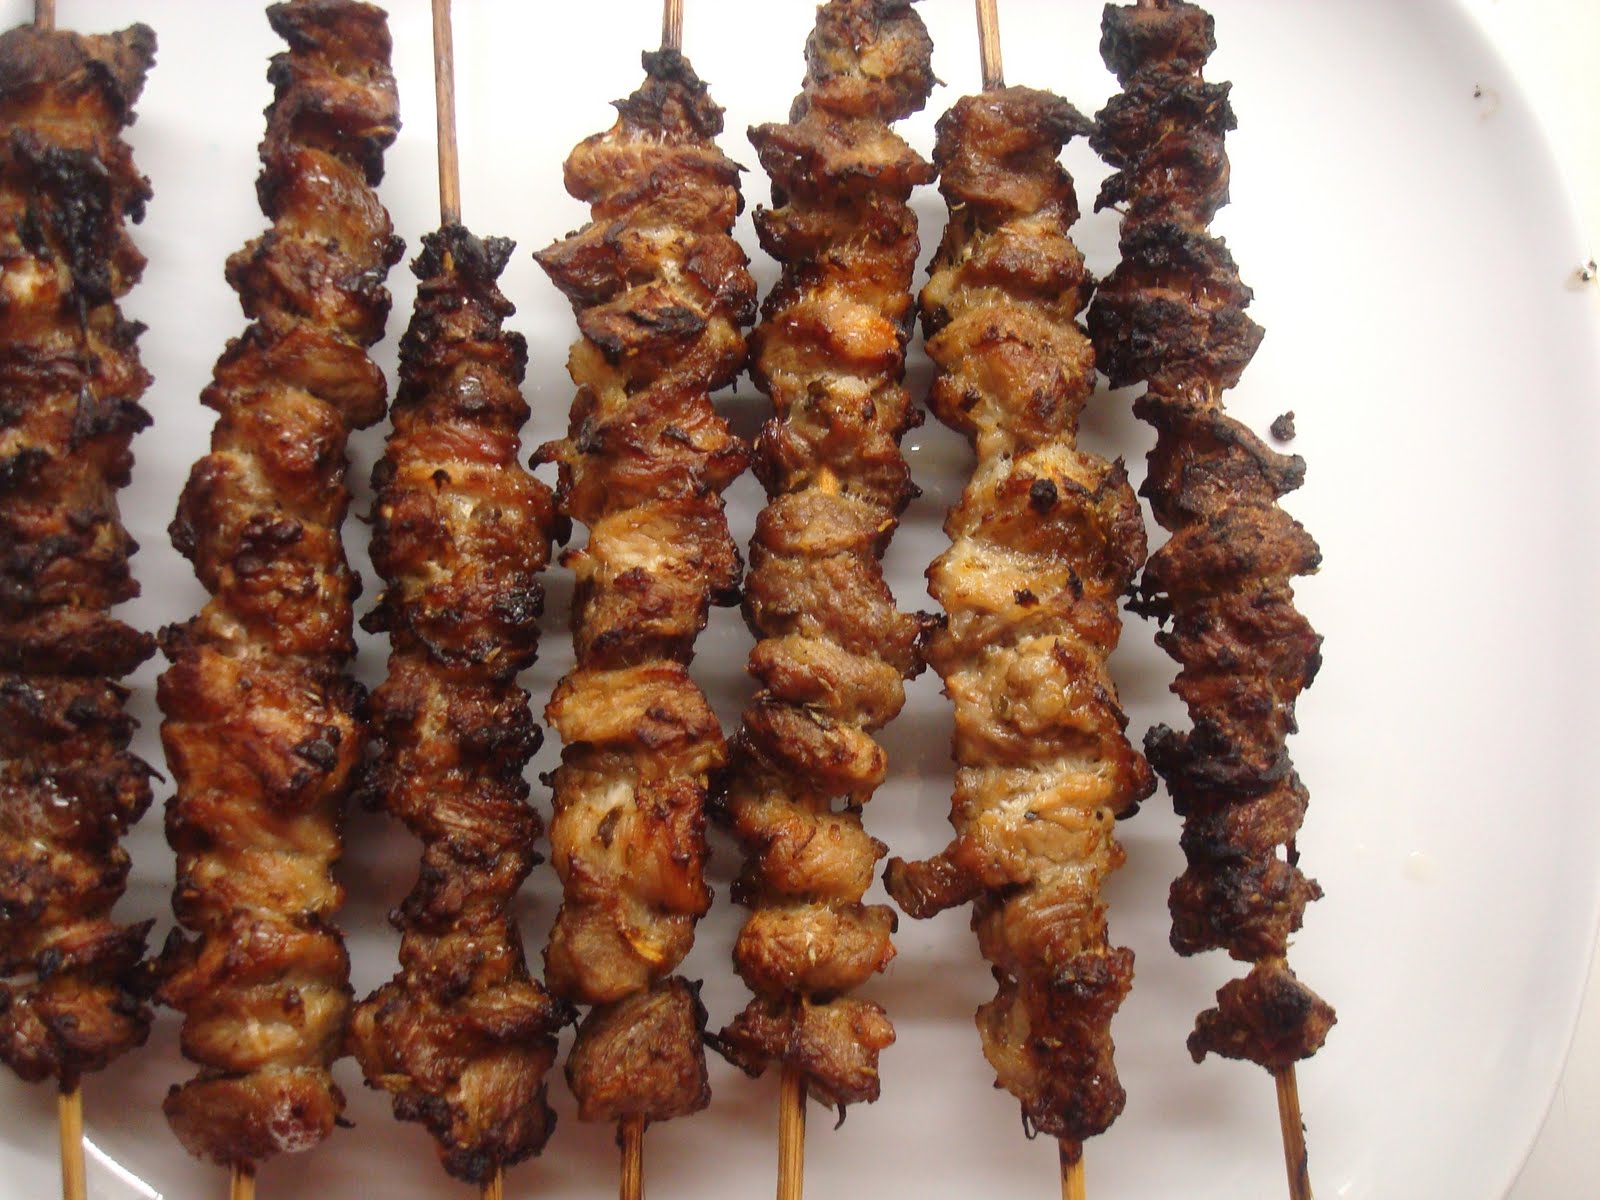
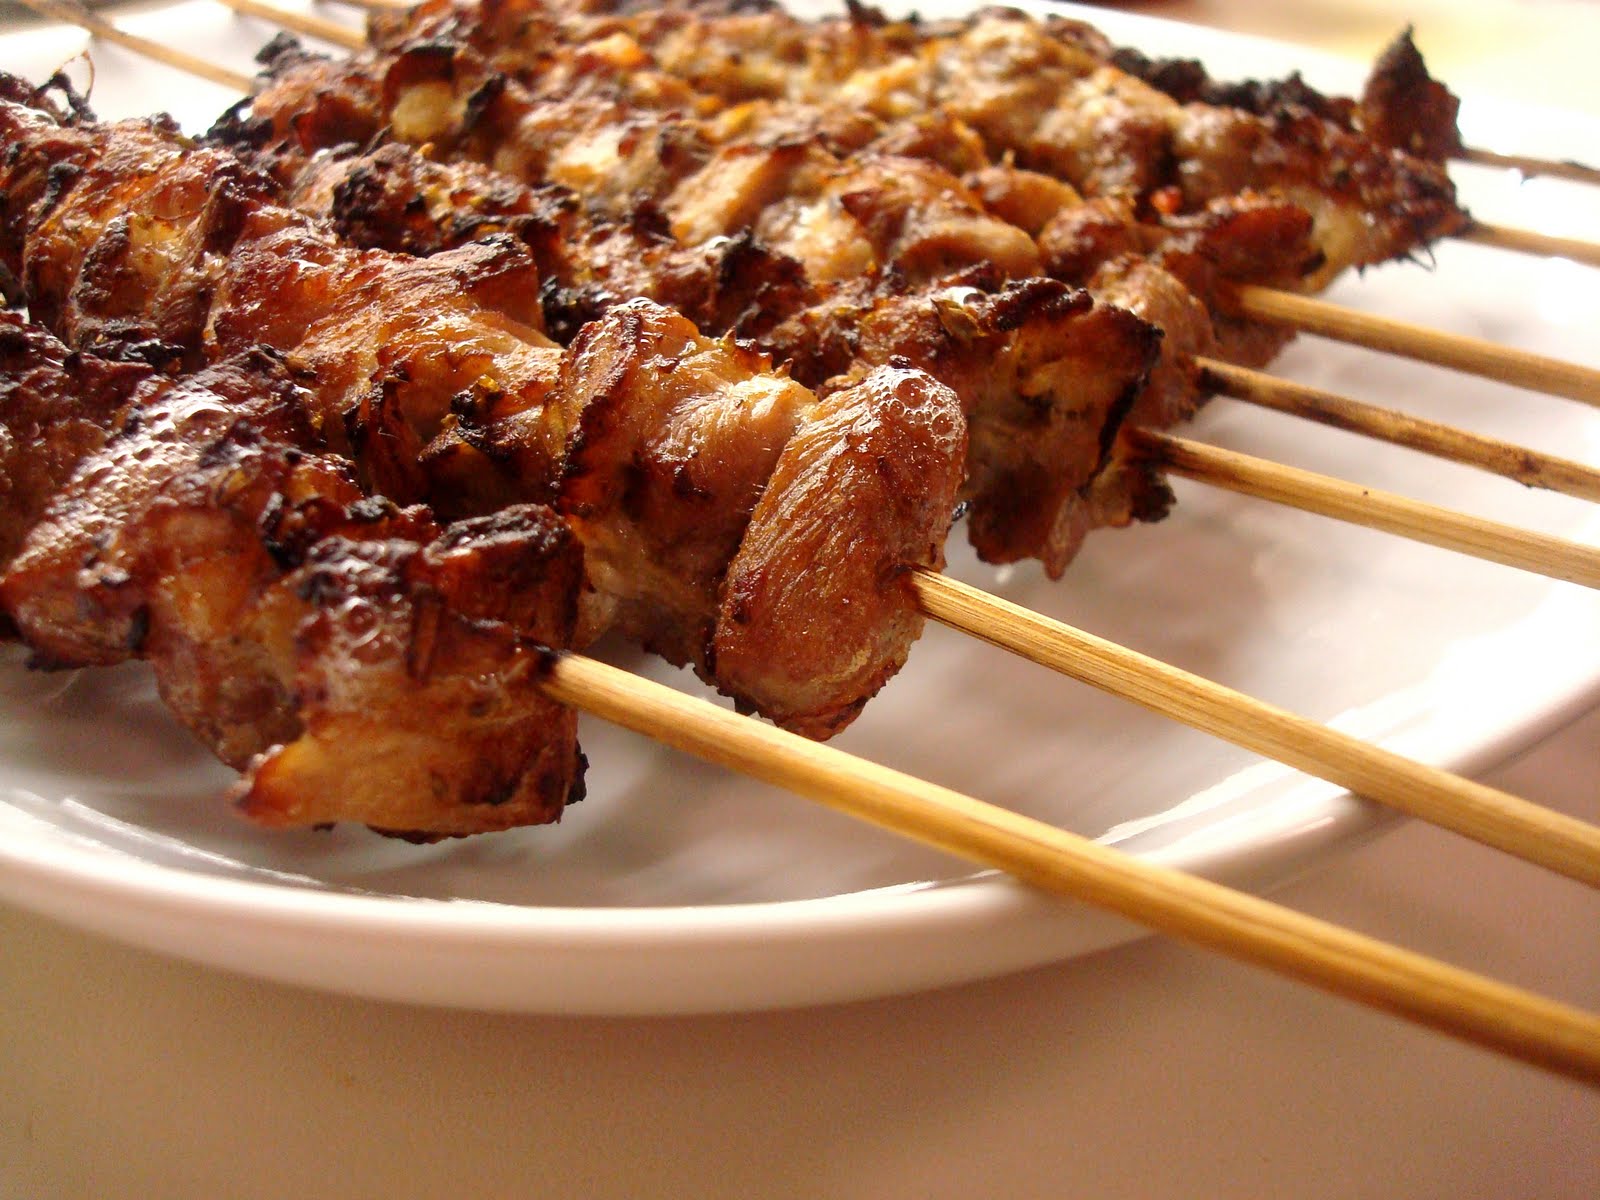
There’s been a silly amount of meat-eating, not that I’m complaining of course! We got a whole spit roasted lamb and, since there’s just four of us, something tells me it’s going to take us a while to get through all of it. Even when the novelty wears out, there’s so many things you can do with it: use it in sauces, omelets, salads. Mum likes to eat it straight out of the fridge, Nigella-style.

I am not a huge fan of liver, but when it’s wrapped in intestines and then cooked on a rotisserie until crispy (kokoretsi) I can be tempted.

But apart from the meats, appetisers are also an important part of the Easter table. Salads, cheeses and dips go perfectly with the salty meat. One of my favourite ones is the one I’m about to share with you, and it’s so simple I’m not sure I’m even allowed to call this a recipe.

Roast Peppers

Ingredients
 
long peppers (as many as you like, including a spicy one for a bit of a kick)
olive oil
salt
red wine vinegar

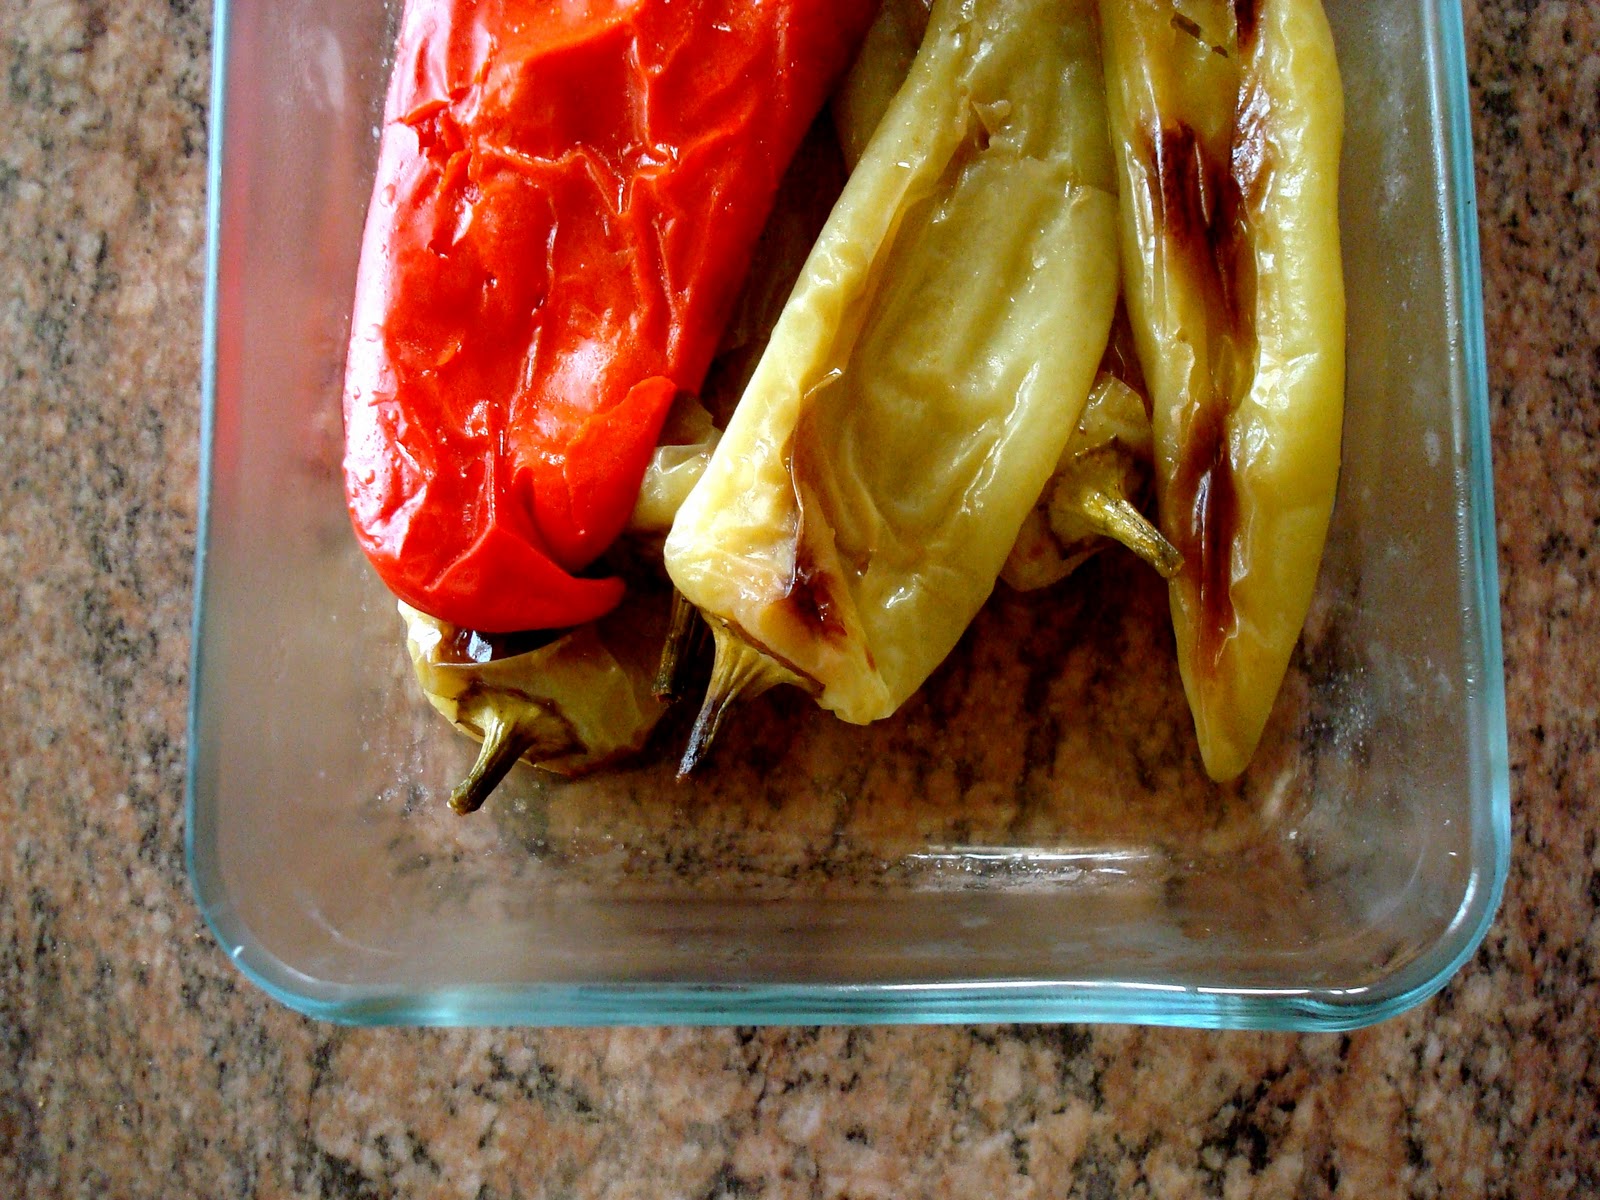
Wash and prick the peppers with a knife. Dry them with a kitchen towel and place them on a baking tray. Sprinkle with olive oil and salt and shake the tray to cover them all over. Place under a medium grill until soft and brown in spots, turning round once to let them cook on both sides. Serve either hot or cold, with a splash of vinegar.

Salt and Snow in Austria

I’m writing this now from the safety of my home and my head is not sunburnt anymore, my legs are not in a stupid amount of pain from skiing and my tastebuds have almost recovered from the salt overdose. The weather was beautiful, the snow was fine (although melting quickly) and the food was filling and intense. That much became clear after the first lunch:

By the way, don’t ask me what any of the dishes are called. My friends told me loads of times but my German skills are non-existent and I’ve completely forgotten. My normal approach was to check what people around me were eating and then point at it until someone told me the name. It worked, I think.

Anyway, the heart-attack in a bowl above consisted of some pasta/gnocchi, loads of cheese, crispy onions and tasted quite good despite (or maybe because of) the fact that it was swimming in fat. My heart was racing and it wasn’t because of the skiing-induced adrenaline.


Well, here’s to hoping all the bad food is cancelled out by the fresh air, the amazing views and the physical exercise. Who knew that going down a hill could be so tiring.

We stopped at a hut, and I saw someone eating this giant ball of goodness and I wanted one. I was warned by Phil that it is weird but I wanted to give it a go anyway. Well, it was weird. It’s like a giant steam sponge, which is great, and it’s surrounded by vanilla custard which is even better. But then, rather than throwing some chocolate on the top and in the middle, someone decided it would be a good idea to fill it with some fruity jam with Stroh and sprinkle it with enough ground poppy seeds to get you arrested in most countries. It promised so much but it ended up being plain odd.

And this must be the highlight of our culinary experience, although possibly not in a good way. Cheesy sausage. A sausage oozing with cheese at every touch of the knife. Make your own jokes.

I realised today that I had to add salt to my food twice to be able to taste it. Austria, you have destroyed me. There goes my career as a food critic. But it was a sacrifice worth making since this was a great week with beautiful weather, enough skiing and loads of food and drink. A refreshing Almdudler in the sun is a beautiful thing and it is in that and many other respects that the Austrian Alps are so much better that the French ones.

Homemade pasta

Ah, it’s been a while, hasn’t it? I’ve just come back from a skiing holiday in Austria and I am still trying to recover from a silly amount of muscle pain and a salty food and beer overdose. All in all, a successful holiday. Photos (mainly of food and snow) will follow.

I took my netbook with me hoping to write a couple of posts and keep up with a bit of work, but in my search for wifi all I found was giggles from the locals. I managed to locate a computer with The Internet on it, in a hotel basement, but I couldn’t bring myself to stay down there for long when the sun was shining and the pistes were waiting!

Anyway, enough with the Austria talk, since it (probably) belongs to a different post. I though I’d tell you about a little adventure I had before I left. It was after a long day of work so I came back completely exhausted and brain-dead. Alex wasn’t around which can only mean one thing: pasta for dinner! It was going to be an easy, straightforward meal, until I read this post.

I had tried once before to make my own pasta and decided to dive into the most difficult recipe I could find: Soft egg ravioli. Well, the egg wasn’t too tricky, but the pasta was so difficult to roll out that I spent literally hours trying to make half a dozen of them. I decided I would not try it again without a pasta machine. But Dawn claimed that it was pretty straightforward even by hand, and I decided to give it a go.

Well, she was right! It was actually so good and so easy that I made it again the next day. Here is the recipe, although I haven’t done anything different than she did.

Pasta Dough (from Kitchen Travels)

Ingredients (1 egg per slightly greedy person)

3 cups all-purpose flour, plus extra for kneading and rolling
4 eggs
1 tablespoon olive oil
1/2 teaspoon salt

Sift the flour into a large bowl or a clean surface. In another bowl, beat the eggs, olive oil and salt until smooth. Mix with the flour until it has all been incorporated. Knead until smooth. 

It didn’t take me more than 10 minutes of kneading until the dough looked smooth and elastic. Wrap in cling film and let rest for half an hour. I took advantage of that time to make the sauce.

Cut in 4 equal pieces and roll each one out onto a thin sheet. The pasta will get thicker when cooked so make sure you make it thin enough. Dust your surface and rolling pin with flour so the dough doesn’t stick.

It only takes 5 minutes to roll out and the dough is very nicely behaved.

I cut it into strips using a pizza cutter but you can use a knife or cut them into circles/squares and fill them with whatever you fancy.

Cook in salted water for about 4 minutes, although it depends on how thick they are. Serve with your favourite sauce.

The taste and texture is so much better than dried pasta (although I’m still a huge fan of course!) or even store-bought fresh egg pasta. You can easily make a very simple tomato sauce while the dough is resting and you have yourself a really tasty and surprisingly quick meal! I had mine with a roast tomato and aubergine sauce and loads of grated cheese on the top. For two days in a row.

I suppose the point of this post is to urge all of you pasta lovers to go ahead and make your own pasta if you haven’t done it before. Do not be intimidated if you haven’t got fancy equipment. Kneading and rolling is pretty therapeutic and the result will be worth it!

Orange and Chocolate Cake

My love for Nigella is no secret- her recipes always produce great tasting food with not much fuss. But it’s more than that. Her shows are almost addictive, and her over-the-top, almost sexual attitude towards food makes them more fun. I doubt she actually does get up at 3 in the morning, makes some french toast and strawberry coulis and then, leaving the kitchen in a mess, goes back to sleep. I don’t believe it, but I like it. It would be fun if you could do it, not get fat and not wake up to find a filthy kitchen.

I’ve only got one of her books, Feast, although I’m coming to believe that Nigella Express is one of the must-have cookery books. I love reading Feast. I haven’t cooked much from it yet, but I’ve probably read it cover to cover. The way she talks about food would make anyone fall in love with it.

Last year I discovered her Guinness Chocolate Cake and loved it. So dark, with a great texture and the Guinness influence, although not strong, adds an earthy flavour to it. It’s become a favourite and everyone who has tried it has loved it.

A year later, I found myself looking for a recipe for another chocolate cake, for the same friend’s birthday. In Feast, I found the recipe for an Orange and Chocolate cake, a combination that I really like. It looks so simple, it’s almost worrying.

You see, what you have to do is boil some oranges, then pop them in the food processor, and then add all other ingredients in there too. Oh, and bake it. Gregg would stuff it in his mouth and then proclaim that “cooking doesn’t get easier than this”.

Orange and Chocolate Cake (from Nigella)

Ingredients

2 oranges, weighing approximately 350 gr
6 eggs
1 heaped tsp baking powder
50g cocoa
200g ground almonds
250g caster sugar
Half tsp bicarbonate of soda

optional: orange peel to decorate

Boil the oranges (whole) for about 2 hours or until soft. Cut them in pieces, get rid of any seeds or hard bits and pop them in the food processor. Meanwhile, line and butter a round cake tin (23 cm) and preheat the oven to 170 degrees.

Pulp them until smooth. Let cool for a bit (I left it in the fridge for a few minutes) and add all other ingredients. Mix until you have a smooth batter.

Place in the tin and bake in the oven for 50 minutes to an hour. When it’s ready, place it on a cooling rack and let it cool completely.

Have you noticed that it has no butter and no flour? Perfect for the gluten intolerant and, although I’m not going to pretend this is healthy, it’s certainly not as bad for you as other chocolate cakes. The oranges make it so moist you won’t able to tell there’s no butter in there and the taste is quite strong, unlike other orange cakes that only use juice or zest. You can make a ganache for it if you like but I don’t think it needs it. Some ice cream would be nice with it, although we had it plain and it was gorgeous.

Apple Tarte Tatin

I absolutely love apple desserts: apple crumbles, apple pies, apple tarts. Saying that, it is weird that I only discovered tarte tatin when, a couple of years ago, I got a French (almost) housemate. She loves cooking too, and one evening she produced the best apple tart I had ever tasted. How had I not thought of this before? Caramelised apple tart. The perfect dessert? Possibly.

I didn’t try it to make myself though. It always seemed a bit of a faff to be honest, and everyone who made a tarte tatin on Masterchef (and Masterchef is never wrong) used some kind of fancy equipment or made it look and sound too complicated.

The other day, I had a lot of apples left and it had been a hard week, so we thought we’d cook ourselves a treat. We made some steaks and some dauphinoise potatoes and I made a tarte tatin for pudding. Well, almost. I completely underestimated how long it would take to cook, so we had brownies for pudding and I decided to finish the tarte tatin the next morning.

And this is the only thing that stops this from being the perfect recipe: it takes a while. But it’s completely worth it. Perfectly sweet and soft apples in the middle, sticky at the edges, with crumbly, buttery puff pastry at the bottom for some texture contrast.

Apple Tarte Tatin

Ingredients

6 crisp medium apples
100 gr butter, softened
100 gr caster sugar
250 gr puff pastry

Peel and core the apples and cut them in quarters. Spread the butter as evenly as possible on the bottom of a round oven-proof bowl, with a flat bottom, about 20cm in diameter. Sprinkle the sugar on the top.

Place the apples, cut side up, symmetrically around the bowl. The bottom side is going to be on the top later on, so make it as pretty as you can. When/if you run out of space, slice the rest of the quarters in 2-3 pieces and place them on top of the apples already in the the bowl. It doesn’t matter if these will look pretty as they will end up at the bottom of the tart anyway. 

Cover with foil and cook in the oven at 170 degrees for 1 1/2 hours. Take the foil off and cook for another half hour, making sure the top doesn’t burn.

Roll your pastry in a circle big enough to cover the apples. Place it on top of them (I did that when mine had cooled down, not sure if it makes a huge difference but you’ve been warned) and tuck the ends inside, between the apples and the bowl. With a knife, pierce the pastry in a couple of places to make sure any steam can come out. Cook for half an hour or until the pastry is cooked.

The bottom should now be looking beautifully caramelised. Place a plate on top of the bowl (make sure you don’t burn yourself!) and quickly turn it upside down so that the pastry lands on the plate. The apples should follow.

I was a bit scared of this part but it actually worked fine, almost nothing got stuck on the bowl. Any buttery juice will end up on the pastry, making the edges really sticky. It is genius.

Serve with vanilla ice cream or some creme fraiche. I love it either warm or cold. And now that I know how to make it, it’s my new favourite dessert. It does take time, but you don’t have to do anything as your oven will do all the work. Perfect for a weekend treat or a dinner party as it is definitely a crowd pleaser.

Saffron Yoghurt with Fennel Seed Biscuits (Indian #2)

In my search for different Indian dishes to try, the BBC website has been a big help. Have you ever watched the Indian Food Made Easy show? Although names like that normally put me off (possibly because it sounds like you’re cheating!) I have enjoyed the few shows I have watched and the food always looked really yummy. All the recipes are available online, and quite a few of them are accompanied by a video clip of the particular dish in the show, so it’s very useful and makes it easy to follow.

I saw this recipe for Fennel Seed Biscuits and I thought I’d give them a go. For some reason, I had imagined them to be shortbread-style, but after reading the recipe I realised they were nothing like it. For starters, they needed frying rather than baking. As mentioned in the recipe, they go nicely with creamy desserts, so I decided to make this Saffron Yogurt to go with them. I love using saffron, just because it looks awesome, and it seems like an extravagant thing to do. Pity I don’t have a clue where to use it! This recipe was starting to sound perfect for me.

Sweet Saffron Yoghurt (Shrikand) (recipe adapted from here)

Ingredients

500 ml greek-style yoghurt
2 tsp milk
1/2 tsp saffron
icing sugar (to taste)
1/4 tsp ground cardamom seeds

Heat the milk in a cup in the microwave and crumble the saffron strands in it. Let the saffron infuse for 5-10 minutes. Every now and then, use the back of a teaspoon to crush the saffron into the milk.
Mix the icing sugar with yoghurt until it’s sweet enough for you. I don’t like it too sweet actually, especially with the biscuits, so I think I must have used 3 tbsp. 
Add the saffron milk (I discarded the saffron but, thinking about it, I probably should have kept it) and the ground cardamom seeds. Leave it in the fridge until ready to serve.

Note that the recipe calls for you to drain excess water from the yoghurt by draining it for a few hours in the fridge, using a tea towel and a sieve. I skipped that step as I used a tub of Total Greek yoghurt, which is already quite thick. If you use thinner yoghurt, you probably want to follow that step and also use more than 500 ml as it will lose water and reduce in volume.

Fennel Seed Biscuits (adapted from here)

Ingredients

80g plain flour, sifted
70g caster sugar
140ml milk
1½ tsp fennel seeds, ground to a powder in a pestle and mortar
pinch of salt
1 tbsp ground almonds
2 tbsp butter, melted
4 tbsp ghee or vegetable oil, for frying

Mix all the ingredients (apart from the oil/ghee) in a bowl and let them rest for 10 minutes. Heat the oil or ghee in a small frying pan and drop tablespoons of the mix in it. Fry for a couple of minutes, turning once. You want to have the oil hot enough so that they don’t absorb too much oil, but not too hot because the edges will brown too much. When cooked, place them on some kitchen towel to get rid of excess oil.  

I’m not sure whether these two are served together traditionally but I think the biscuits went very well with the sweet and fragrant yogurt. I’m sure you could have them separately or use them in different combinations. We actually had some of the yogurt by itself the next day, but it would also be very good with a sprinking of nuts.

Previously on Round the World in 100 Recipes:
King Prawn Puri 

Next time on Round the World in 100 Recipes: Trying to use up all those prawns. They turn out great.

King Prawn Puri (Indian #1)

Do you know how the famous Chicken Tikka Massala was invented? Apparently no Indian chef has been able to claim it. Instead, it was first made in London, when a Bangladeshi chef added tomato sauce and spices to a Chicken Tikka to satisfy a diner who asked “Where is my gravy?”. Not sure if that makes it English or Indian and I’m undecided on whether that Londoner should go down in history as an ignorant diner or, in a sense, the father of the most popular Anglo-Indian dish. Possibly both.

So where does one learn about Indian food? If the story about Chicken Tikka Massala is anything to go by, visiting a curry house is probably far from an authentic Indian experience. I’ve been trying to do a little bit of research on the internet but it’s not always easy to distinguish between traditional Indian food and a spiced up English stew.

Having said all that, the first thing I’m making is a curry house favourite: King Prawn Puri. I’ve combined a few recipes off the internet, picking the best (i.e. easiest) bits from each one of them.

King Prawn Puri

For the puri

250g wholemeal flour
1 tbsp vegetable oil
1 tsp salt
Lukewarm water
Oil for frying

Mix the oil, flour and salt, and slowly add water to make a dough. Knead until smooth, place in a bowl and cover with a towel. Let it rise for about an hour. I find that it’s better to roll each one out as you go, rather than preparing them all first and then frying, as the dough gets quite sticky. 


Heat some oil (or ghee) in a wok or some other deep pan and drop a puri in. It should puff up, either a little or possibly fully (the one in the picture is my most successful one, but they all tasted good!). They only need a few seconds on each side, do not let them brown or they’ll turn crispy. You want them cooked but still soft. Put each one on kitchen paper to get rid of any excess oiliness and prepare the next one.

For the prawns

500g raw king prawns
2 tbsps tomato puree
1 onion, finely sliced
2 cloves of garlic, finely chopped
2 tsps of mustard seeds
2 tsps of turmeric
1 tsp garam masala
1 tsp cumin
1 tsp coriander
Salt to season
A little oil or ghee (clarified butter) for frying
Some chopped coriander

Heat the oil in a pan and add the mustard seeds. Move away from the pan and let them fry until they pop! Add onions and garlic and fry until soft. Add the rest of the spices, the prawns and when they are looking cooked (i.e. pink), add the tomato puree and some water to make it saucy. You don’t want too much liquid, but it shouldn’t be completely dry either. Cook for a few more minutes until the prawns are cooked through and the flavours are combined.

Serve each puri with some of the prawns and the sauce. I forgot the coriander leaves, as I was quite panicky with all the frying (big containers of hot oil scare me a little) but it was still very good. The puri is soft and chewy and perfect when combined with the juices of the sauce.

I haven’t got any onion in mine as I had run out so I think it looks a bit drier than it should, but the flavours were brilliant. Serve with a squeeze of lemon: I love the acidity of it as it cuts through any oiliness that you get from the fried bread. Prawns and lemon are best mates anyway!

I’ll therefore declare my first Indian dish a success, and move on to the next one with a lot more confidence! If you have any suggestions or tips or just some more knowledge on authentic Indian food, please leave a comment!

Next time on Round the World in 100 recipes: My first Indian dessert!

Rice Pudding (Greek #10)

Ah, hello beautiful feeling of achievement! Sometimes I forget how good you feel. Both in my work and in this blogging business (alright, hobby) I got myself into, days can go past when nothing feels right. Food that isn’t worth writing about and maths that doesn’t mean anything no matter how hard you squint, or scale, or both. Today isn’t one of those days, I think. The sun helps too.

But is a bowl of rice pudding worth blogging about? And how challenging can it be to qualify as part of a challenge?

Well, I haven’t cheated. I’ve never made rice pudding before, not the Greek kind, not any kind. And this is about me learning, right? And it was totally worth it because when I tasted it, it made me feel like a kid again. It was exactly right. Now, you might like your rice pudding a specific way, and I don’t blame you. This one is the one I grew up on. It’s a bit different to English rice pudding; first of all, it’s supposed to be eaten cold. It tastes better cold. And secondly, you sprinkle cinnamon on top. No nutmeg, no jam. It’s got to be cinnamon.

The recipe comes from the Greek Delia as I like to think of her, or Vefa as is her real name. I’ve changed quantities a bit as I didn’t like it as sweet and I thought the amount of cornflour was a bit on the extreme side.

Greek Rice Pudding (adapted from here)

Ingredients (makes 6 portions)

1/2 cup rice, washed
1 1/2 cups water
1/4 tsp salt
4 cups milk
1 tsp cornflour
1/3 cup sugar (or up to 1/2 cup, depending on how sweet you like it)
vanilla extract
ground cinnamon

In a pot, bring the water to boil and add the rice. Cover and let it simmer until all the water has been absorbed. In 1/4 cup of the milk, add the vanilla extract and the cornflour and dilute. Bring the rest of the milk to boil (or warm up in the microwave which is what I did) and add it to the rice, together with the sugar. Let it simmer for about 20 mins. When it’s done, thicken it by adding the cornflour-milk-vanilla mixture, bring to boil and cook for another 5-10 mins while stirring to make sure it doesn’t stick to the pan. Let it cool and split it into 6 bowls. You can keep them in the fridge until you serve them.

You know the thing I said before about cinnamon? Don’t listen to me and my food pedantry. Rice pudding is the easiest and friendliest and least pretentious pudding in the world. Have it with whatever you fancy!

Doing these 10 Greek recipes has actually been harder than I initially thought- I cook Greek stuff all the time and it was quite tricky (but also very exciting!) to try and come up with things I hadn’t made before. You can argue that a couple of the things I made were just borderline acceptable, but it was fun and I learnt stuff! Next country is going to be India because a bit of spice is going to help us get through the end of the winter. I’m really looking forward to it; in the meantime, if you would like to have a look at the other Greek dishes I made, here’s a list:

Spetsofai
Stuffed Onions
Lihnarakia
Beef with Aubergines
Ladopita 
Cheese and Salami Pie
Pork Souvlaki
Homemade Pita
Rabbit Stifado

Rabbit Stifado (Greek #9)

When I blog about Greek food I try to avoid using Greek names to describe dishes as I find it a little bit pretentious and possibly quite confusing for non-Greeks. I will definitely be found guilty of doing the exact thing I’m pretending to dislike around this blog, but I do at least make an effort. Sometimes, it’s just a bit silly to say Courgettes, Aubergines and Potatoes baked with Tomato and Olive Oil rather than just Briam.

I was thinking about an English name for this dish the other day while watching Masterchef when Gregg spoke the words “She’s making a Beef Stifado. Will it be enough to get her through to the next round?”. Well, if the word is good enough for Gregg, then it’s good enough for me. Because Gregg isn’t pretentious at all. Fact. So there you go: we’re almost at the end of the Greek month (the word month used in the most general way possible) and we are having Rabbit Stifado.

Rabbit is a controversial meat I suppose, but I feel that we should eat most things and eat them in moderation. And if you think about it, rabbits have probably enjoyed a much better life than those battery chickens that haven’t got the space or the energy to move.

Having said that, I managed to persuade Alex to do the dirty job of cutting it in pieces. It didn’t look like a great job. It was a bit messy but the idea is to try and cut it in half following the spine and then remove the 4 legs and any other meat pieces from around the main bone. We threw that away. If you want some proper advice on preparing the rabbit, there are quite a few useful videos on YouTube that we only thought of looking up after we had finished.

The sauce is simple, but very aromatic and I love the sweet onions. As it’s normally the case with stews, the longer you leave it to simmer, the better it becomes.


Rabbit Stifado

Ingredients (serves 4)


1 rabbit, cut into pieces
10 small onions or shallots, peeled
5 cloves of garlic, peeled
1 glass of red wine
1 cup creamed tomatoes and/or some fresh tomatoes, pureed
1 cinnamon stick
a few allspice berries
olive oil
salt and pepper

Fry the rabbit in a bit of olive oil. If you like, you can first roll the rabbit pieces in some flour and then fry them. Slightly healthier if you don’t. When it’s nicely browned, add the onions, the garlic and the wine and boil until the alcohol evaporates. If you have fried bits of meat stuck to the bottom of the pan you can use a wooden spoon to scrape them off. Then, add the tomatoes, enough water to almost cover the meat and the cinnamon, allspice and pepper and cover. Let it simmer for a couple of hours or longer if possible. The meat will just get more and more tender. When it’s done, season with the salt.

Serve with pasta or some good bread. I actually fancied some mash when I made it so I had it with that and it was really good with the lovely, thick sauce. The next day we had the leftovers on spaghetti, with some grated pecorino on the top. Very nice too.

Previously on Round the World in 100 Recipes:
Spetsofai
Stuffed Onions
Lihnarakia
Beef with Aubergines
Ladopita 
Cheese and Salami Pie
Pork Souvlaki
Homemade Pita

Next time on Round the World in 100 Recipes: Finishing off with a childhood sweet!

Pork Souvlaki with homemade Pita (Greek #7 & #8)

When I lived in Greece there were some things I never thought of making myself. To be honest, I didn’t do a lot of cooking back then, being a student and all, and having my mum to cook yummy food for me! And it never crossed my mind to make some souvlaki with pita, given how many places there are around that make it so well! But in England, most Greek food places (fancy or not) try to prove every bad stereotype about Greek food true.

It was Tsiknopempti a couple of weeks ago (I am slow at posting recipes!) and I was also feeling quite homesick so I decided to put some Greek music on and make something traditional. Tsiknopempti is what in other countries is called Fat Thursday and because it is 10 days before Lent starts people eat a lot of meat, traditionally barbecued.  The name comes from the word tsikna which is the smell that meat has when grilled or barbecued.

Pork Souvlaki

a joint of pork shoulder
a small onion
2 lemons
olive oil
oregano
salt and pepper
skewers (soaked in water, so they don’t burn under the grill)

First of all, cut the meat into squares (sides approximately 2cm), keeping some of the fat on it. To make the marinade, grate the onion on the thick side of the grater and mix it with the meat, the juice of a lemon, olive oil, oregano and the seasoning. Cover with cling film and leave in the fridge, ideally overnight, but if you’re feeling impatient, for as long as you can wait.

When you are ready to cook it, put pieces on the skewers and cook them under a medium grill, turning the skewers round half way. You want them to be crispy on the outside but make sure you don’t overcook them.

Serve with some more lemon on the side and this easy and tasty pita bread. I am never buying pita from the supermarket again.

Pita Bread (recipe from Kalofagas)
makes approximately 6 big ones

3 cups plain flour
3/4 cup lukewarm water
2 Tbsp olive oil
1 Tbsp active dry yeast
1 tsp salt
1 tsp sugar

oil for greasing the pan
flour for dusting

Mix the water, olive oil, yeast, salt and sugar and leave for a few minutes. Add the flour slowly and mix with a wooden spoon until it becomes a dough. When it is too difficult to do it with the spoon, start mixing with your hands. When the flour has been incorporated, knead until the dough looks smooth. Cover with a kitchen towel and leave for half an hour.
Pull pieces off the dough, the size of an orange (although it depends on how big you like your pita!) and roll them out into 1/4 inch thick round sheets. Use a fork to poke holes into the dough, without going all the way through it.

Heat your pan and spread a little oil on it. Place your flat dough on the pan and cook on each side for about 2 minutes, or until golden. When each pita is cooked, put it inside a towel to make sure it doesn’t dry out while cooling down. Serve warm, or if you want to serve them later, let them cool down inside the towel and reheat on the pan.

It’s perfect Greek food, so easy to make, quite healthy and very tasty. Serve with some Greek salad, and my favourite Greek dips: Tzatziki and Roast Pepper and Spicy Feta dip. Actually, this pita is so yummy that a couple of times last week my dinner consisted of it and these dips.

Previously on Round the World in 100 Recipes:
Spetsofai
Stuffed Onions
Lihnarakia
Beef with Aubergines
Ladopita 
Cheese and Salami Pie

Next time on Round the World in 100 Recipes: It’s a cute animal, but it’s also pretty yummy.