No-knead bread
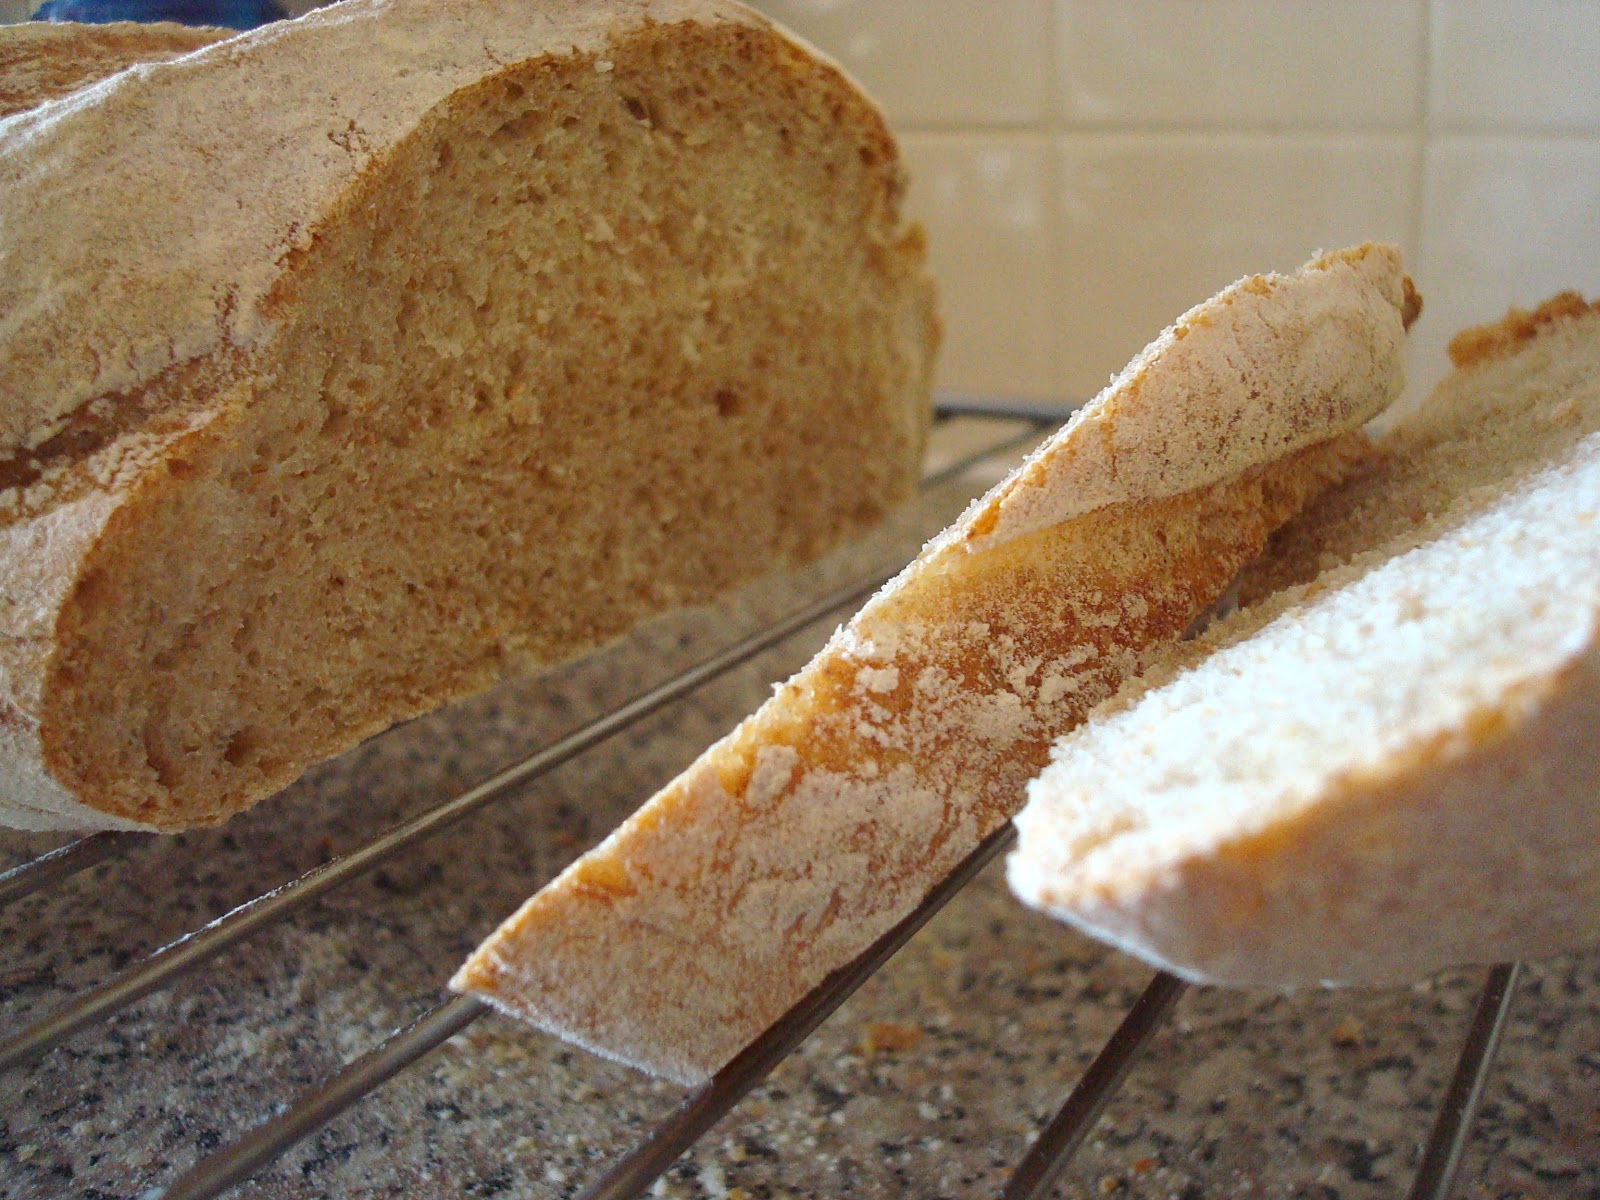
The consistency of my doughs still varies, but most of my loaves now are successful. The wetter doughs produce larger holes but flatter loaves, and they are excellent for eating with soups and stews. A drier dough sacrifices the impressively hole-y interior but gives you nicely shaped loaves that you can use to make sandwiches. It is also much easier to handle, meaning that you can make large loaves easily.
No-knead bread
Ingredients (makes 2 medium sized loaves)
2 cups lukewarm water
1 tbsp active dried yeast (or instant yeast)
1 tbsp salt
550 – 600 gr flour (see notes for type of flour used)
extra flour for dusting
In a large bowl, mix the water, yeast and salt and leave for a few minutes until the yeast granules dissolve (you don’t need to worry too much about the mixture frothing up – if you’re using instant yeast you don’t really have to wait at all).
Mix in most of the flour (about 500 gr) and stir using a spoon until you can’t see any dry patches. Add an extra 50-100gr and incorporate using wet hands. Your final dough should be wet enough so that it slowly deforms and takes the shape of the bowl.
Cover with a plate or a lid (not airtight), and let it rise for at least 2 hours (up to 5 won’t harm it). You are done with the rising when the top has flattened.
You can use the dough now but it’s better to refrigerate it for a couple of hours as it will be easier to handle. The dough will last in the fridge for at least a week and probably 10 days, so you can make this in advance and even double it if you have a large enough container.
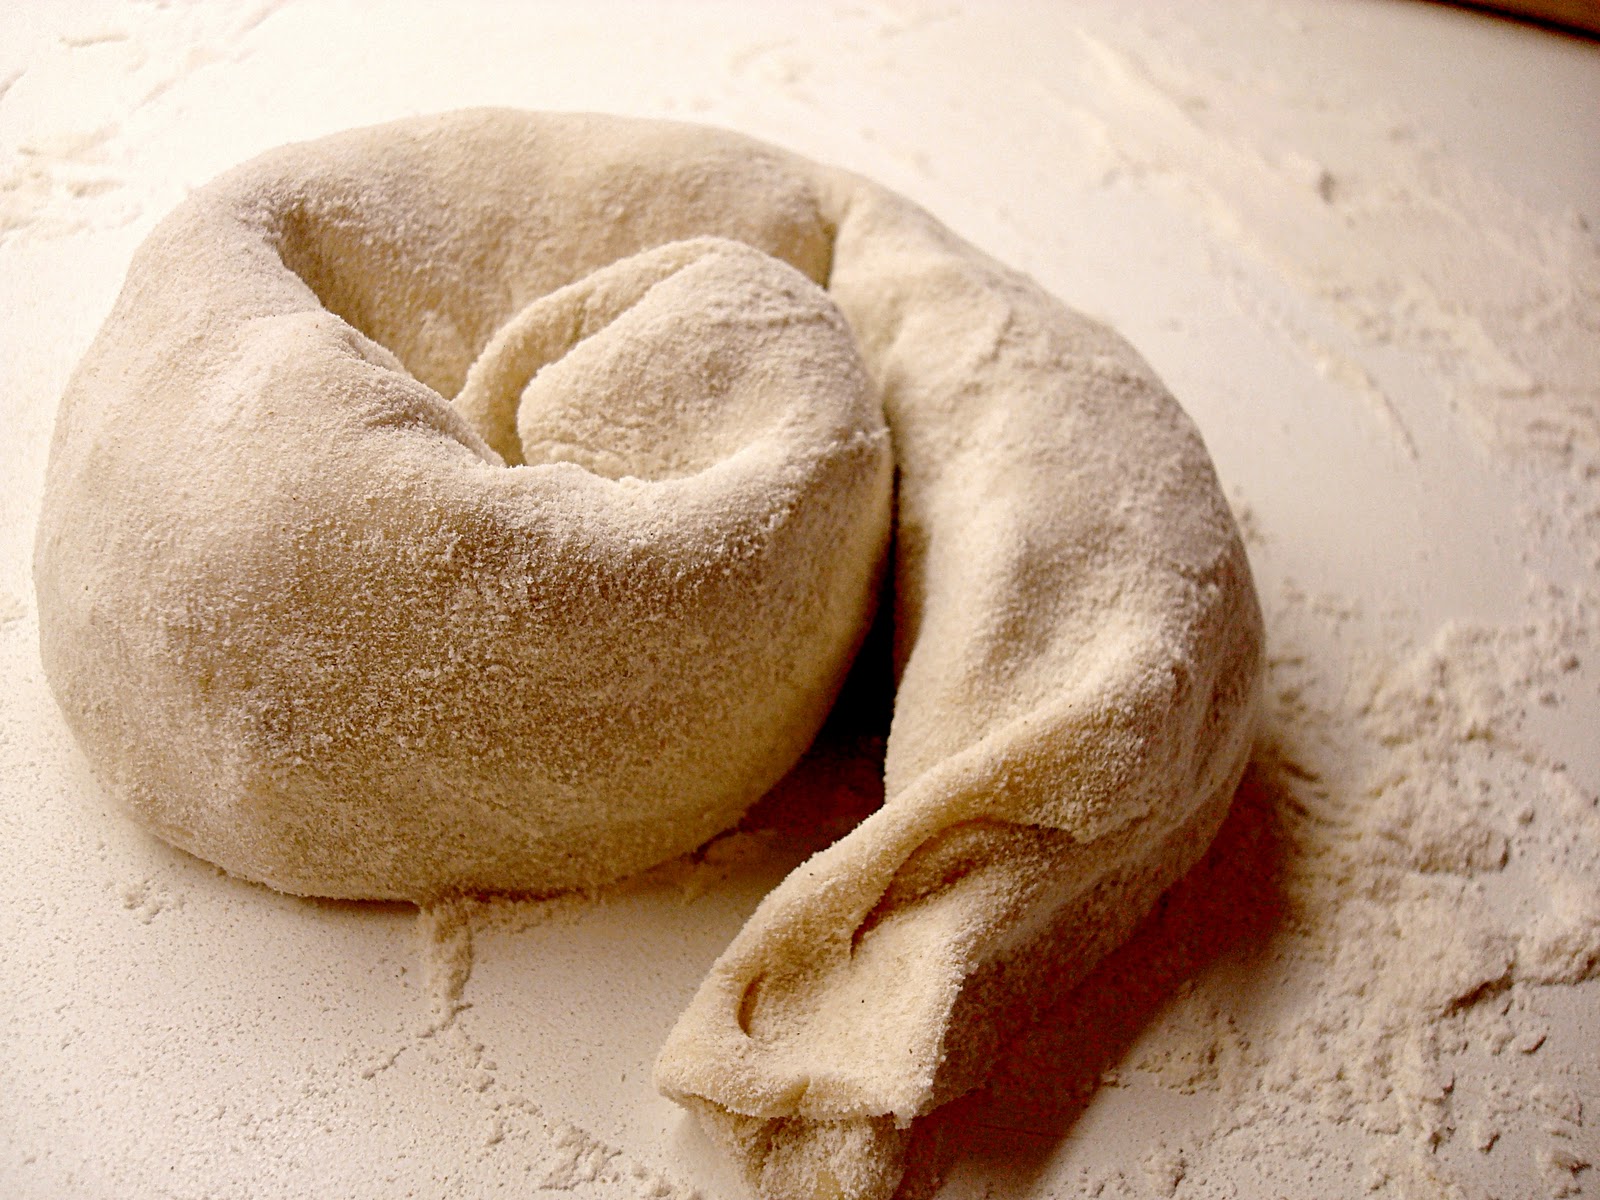
Take your dough out of the fridge, flour the surface and your hands and pull out a chunk about half the size of the whole dough*. Form a smooth ball by pulling the sides of the dough underneath it. Don’t overdo it or the top layer of the dough will start splitting! Tuck the ends underneath – the bottom might look a bit messy but it will even out during rising/baking. Place it on a smooth chopping board dusted with flour.
Let it rise for 40 minutes. Turn the oven on to 230 degrees Celsius and place a pizza stone on the middle shelf 10 minutes before the end of the rising time. Place a tray on the shelf underneath.
Dust the surface of the dough with flour and make some quite deep cuts using a bread knife. Make sure the bottom isn’t sticking to the chopping board – if it is, push some flour underneath using the bread knife. Slide the dough onto the pizza stone and quickly pour a cup of hot water (from the tap) into the tray underneath. Shut the oven door as quickly as possible to trap the steam in.
Bake for 30 minutes, until the top is looking nice and golden. Let it cool before you cut a slice.
Not that I’ve ever done that!

To keep the outside crispy, I store the bread with the cut side flat on a plate.
*If it’s too wet to handle, you haven’t got enough flour in it. You can incorporate some more flour at this step, or choose to bake it in a loaf tin. If using a loaf tin, make sure you grease it well with some oil and let the dough rise for an extra 45 minutes – 1 hour.